
After-Winter Fence Inspection and Repair
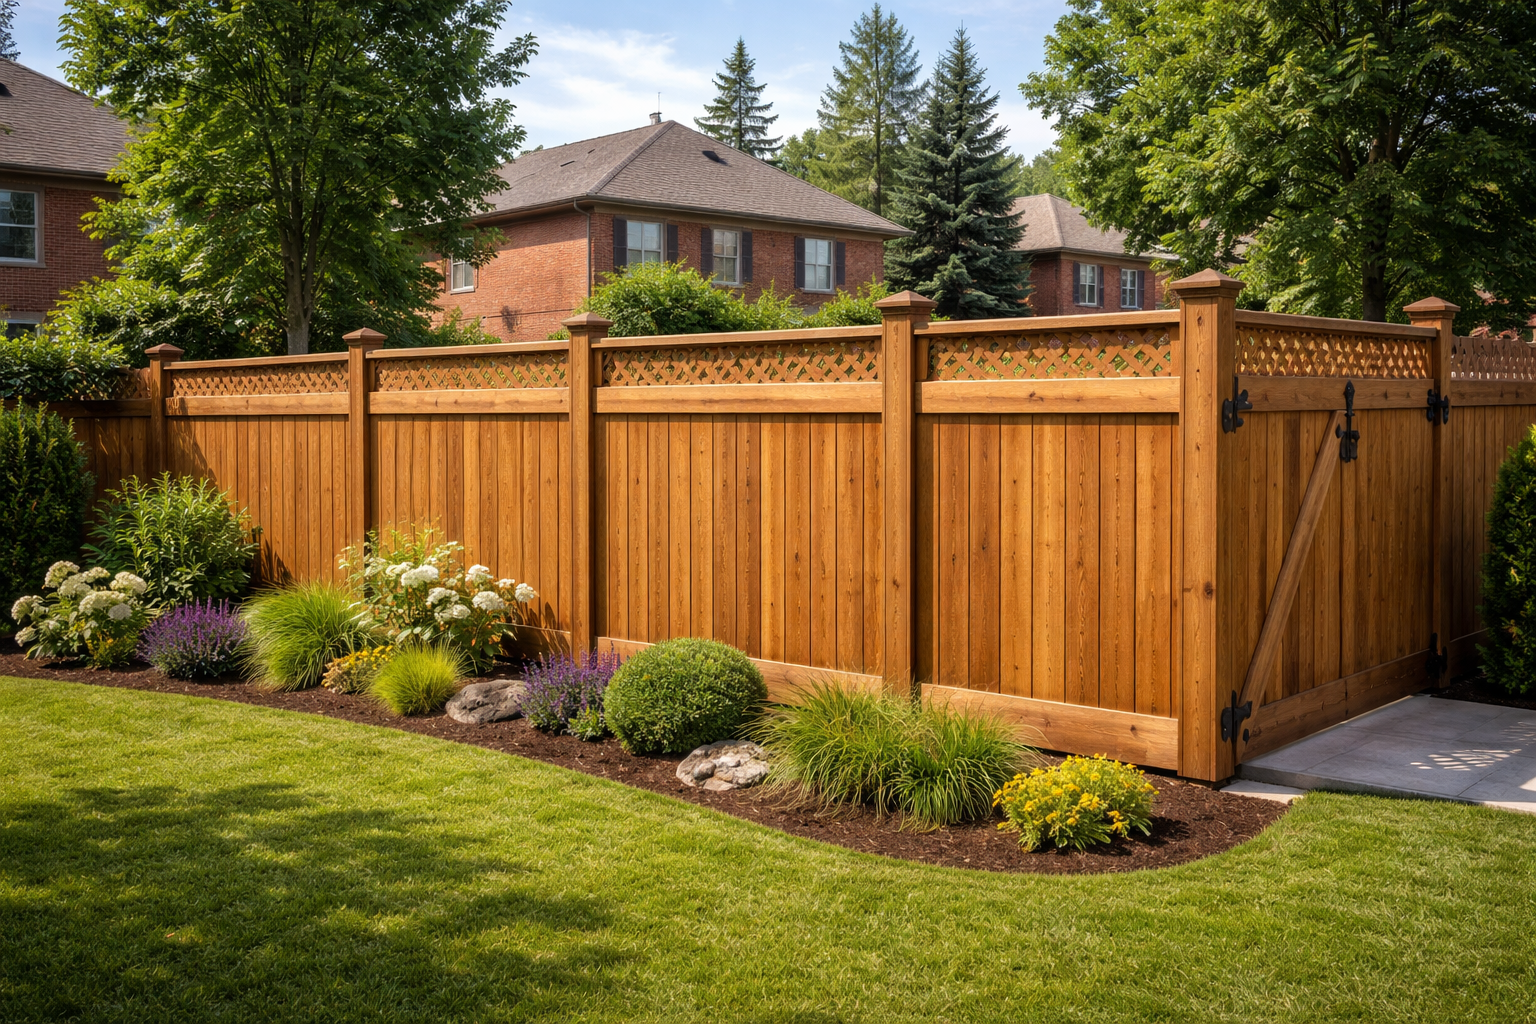
Spring Fence Repair
As the last traces of snow melt away and the ground finally begins to thaw, Ontario homeowners often discover that winter has left its mark on more than just their driveways and gardens. Your fence has stood through months of freezing temperatures, heavy snowfall, ice storms, and relentless freeze-thaw cycles, and may be showing signs of wear that demand attention.
Spring presents the perfect opportunity to assess any damage, make necessary repairs, and restore your fence so it looks great and performs reliably for years to come.
Taking the time to properly maintain your fence each spring isn’t just about aesthetics, though a well-maintained fence certainly enhances your property’s curb appeal. It’s about protecting a significant investment and preventing minor issues from snowballing into major structural problems that require costly replacements.
This guide will walk you through everything you need to know about spring fence recovery, from conducting a thorough post-thaw inspection to cleaning, repairing, and refinishing your fence like a professional.
Why Does Spring Fence Maintenance Matter?
After enduring an Ontario winter, your fence has experienced significant stress. The freeze-thaw cycle causes wood to expand and contract repeatedly, which can lead to cracking, warping, and structural weakness. Heavy snow accumulation puts pressure on panels and posts, while ice and moisture penetrate unprotected wood surfaces, accelerating rot and decay.
Addressing winter damage early in spring prevents small problems from becoming expensive repairs later. A fence that’s properly maintained in spring will stand stronger through summer storms and be better prepared for the following winter. Plus, a well-maintained fence enhances your home’s curb appeal and property value, something every homeowner appreciates.
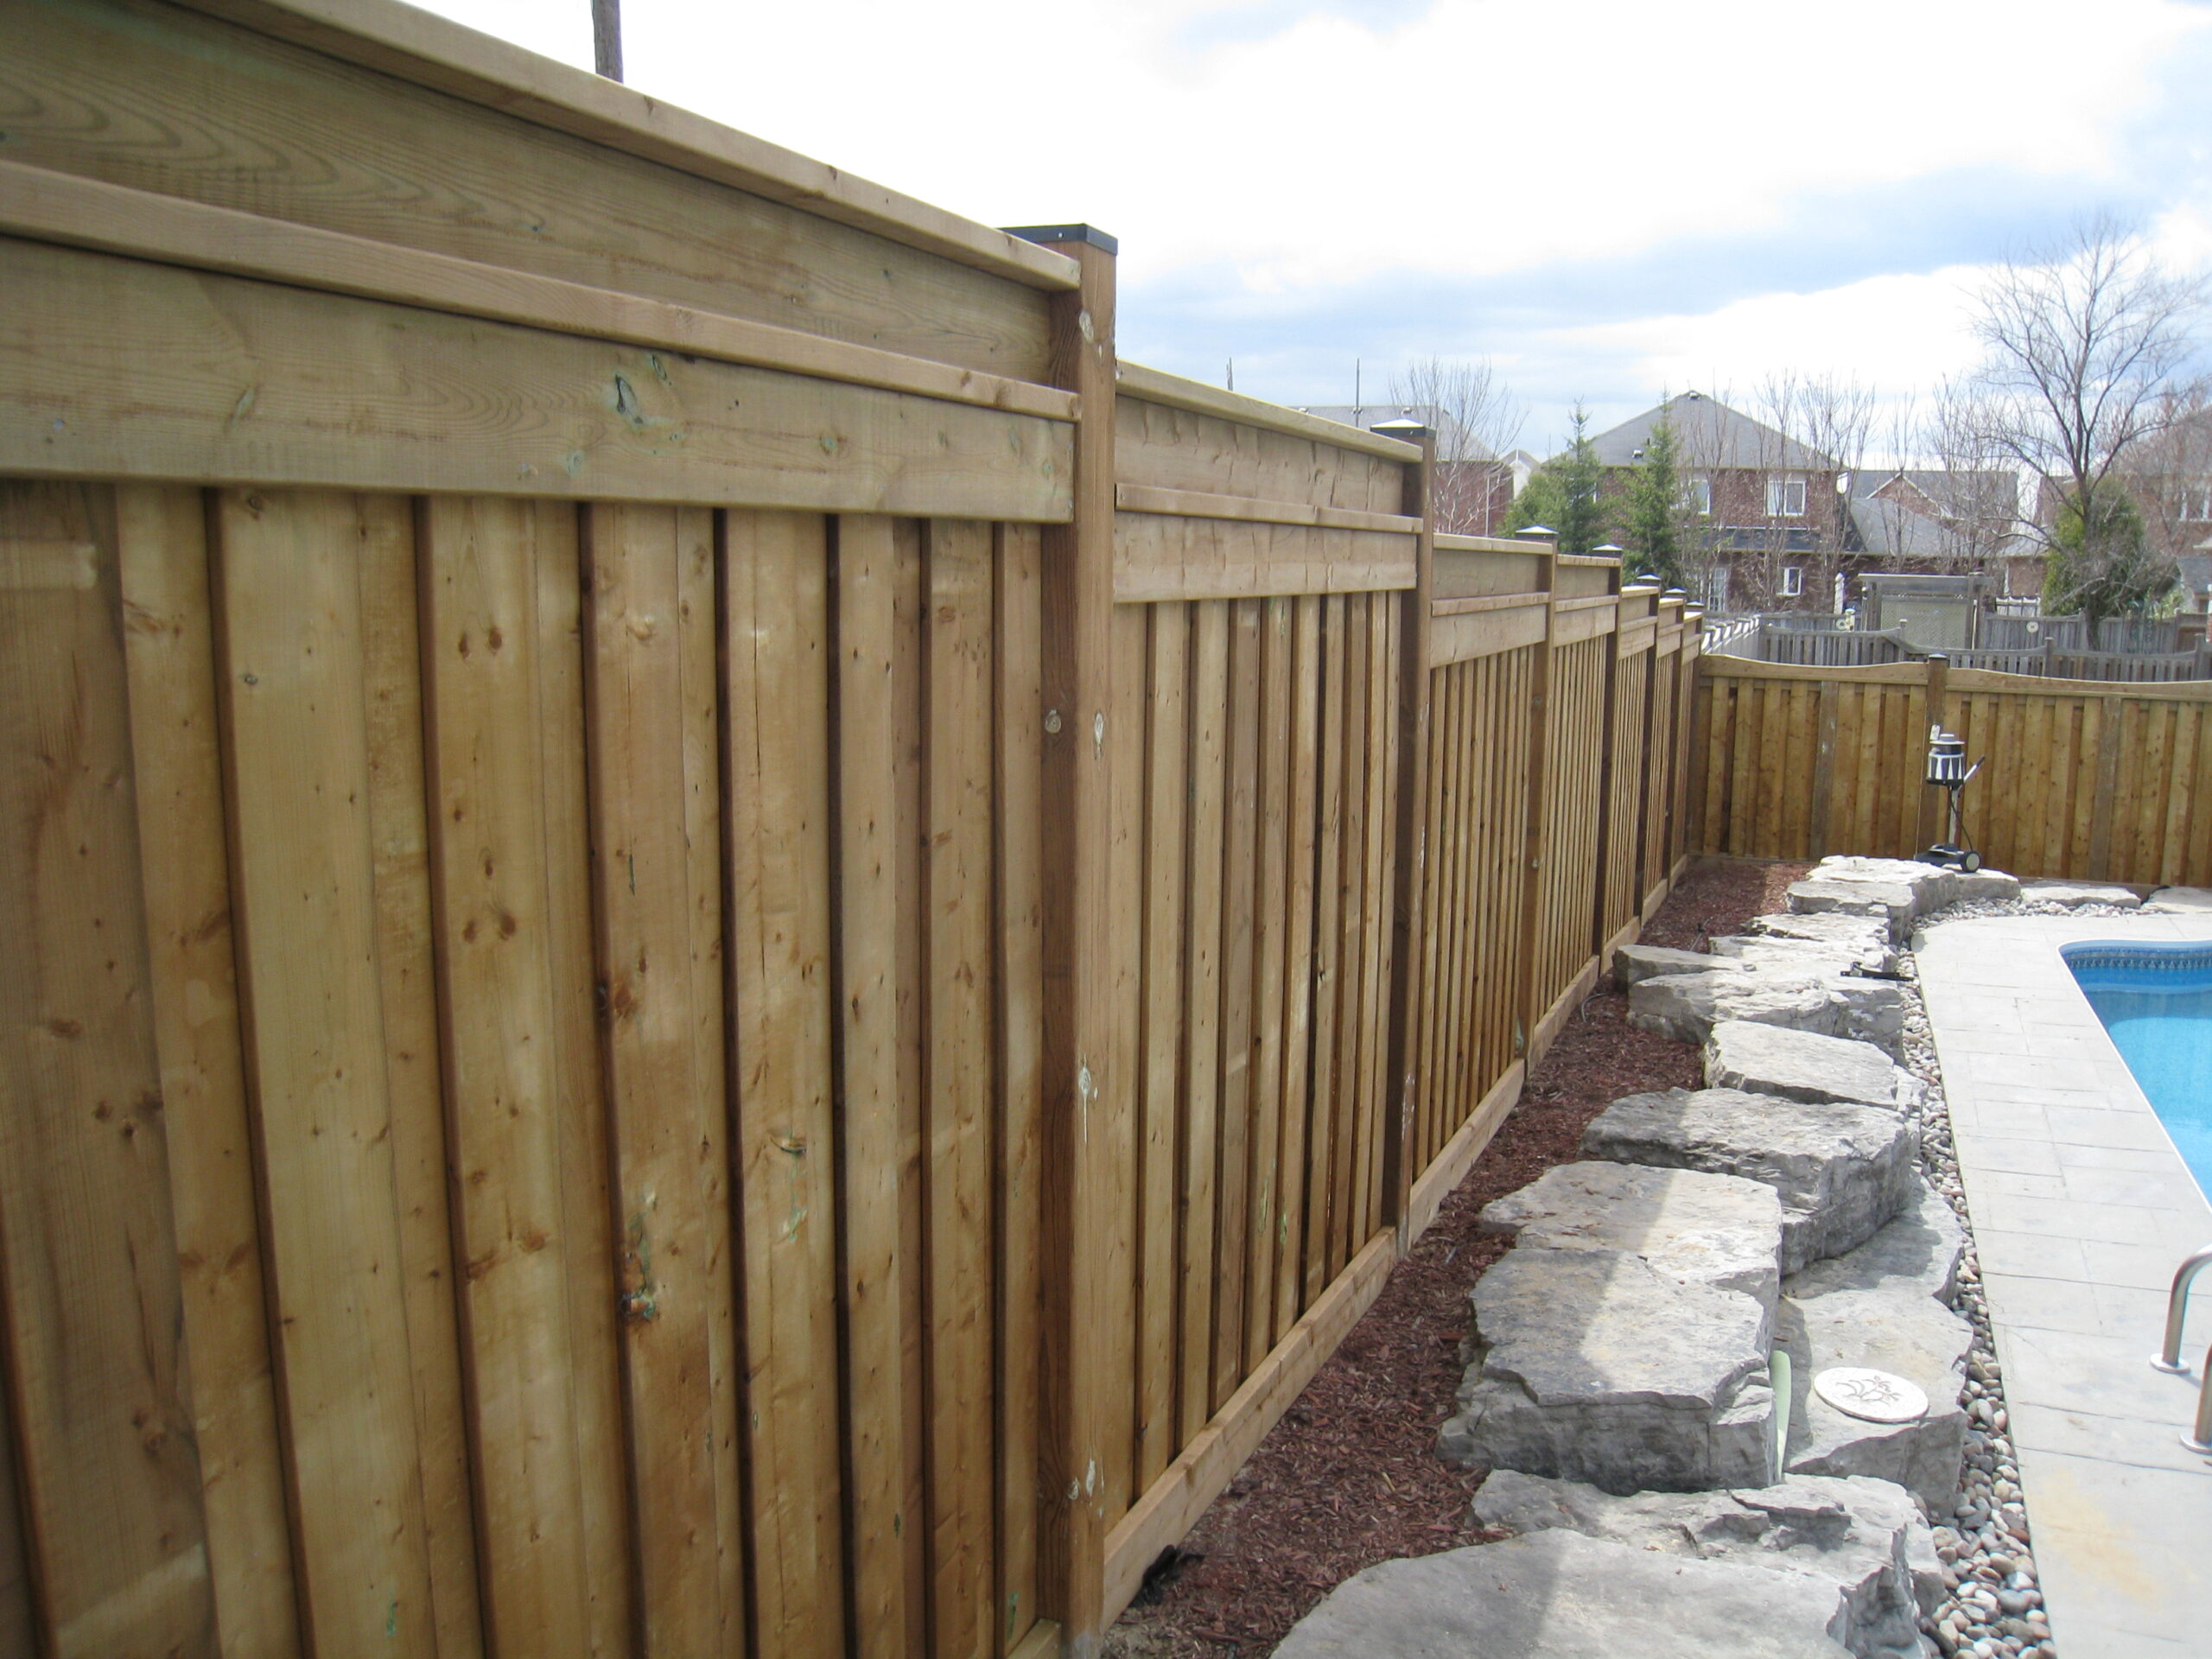
Step One: Conduct a Thorough Post-Thaw Inspection
Before you grab any tools or cleaning supplies, take time to carefully inspect your entire fence. A systematic inspection helps you identify all issues so you can prioritize repairs effectively.
Walk the perimeter and check for these common winter damage signs:
- Leaning or tilting posts caused by frost heave
- Loose, cracked, or missing pickets and boards
- Warped or bowed panels from moisture absorption
- Rot or soft spots, especially at ground level and post bases
- Rust on metal hardware, hinges, and fasteners
- Gaps between panels or between the fence and ground
- Peeling, flaking, or faded stain and finish
- Mould, mildew, or algae growth on wood surfaces
Pay special attention to fence posts, as they’re most vulnerable to frost heave damage.
Ontario’s deep frost line means the ground freezes and thaws repeatedly, which can push posts upward or cause them to shift out of alignment. Check each post by giving it a firm shake—any wobbling indicates the post needs attention.
Don’t forget to inspect gates carefully. Winter conditions often cause gates to sag, stick, or swing improperly due to shifted posts or damaged hinges. Test each gate to ensure it opens, closes, and latches correctly.
Step Two: Clean Your Fence Thoroughly
Once you’ve completed your inspection, cleaning is the essential next step. Winter leaves behind dirt, grime, salt residue, and organic growth that can damage wood if left untreated. Cleaning also prepares the surface for any staining or sealing you’ll do later.
For a basic cleaning, follow these steps:
- Remove loose debris, leaves, and cobwebs with a stiff brush or broom
- Trim back any vegetation that’s grown against or through the fence
- Rinse the entire fence with a garden hose to remove surface dirt
- For stubborn grime, use a mixture of mild dish soap and warm water
- Scrub affected areas with a soft-bristle brush, working with the wood grain
- Rinse thoroughly and allow the fence to dry completely
For fences with significant mould, mildew, or algae growth, you may need a specialized wood cleaner or a diluted oxygen bleach solution. Avoid using chlorine bleach, as it can damage wood fibres and harm nearby plants.
If your fence has years of built-up grime or old stain that needs removal, consider using a wood brightener product after cleaning to restore the wood’s natural appearance.
Pressure washing can be effective but requires caution. Using too much pressure or holding the nozzle too close can damage wood fibres, splinter the surface, and force water deep into the wood. If you choose to pressure wash, use a wide fan tip, keep the pressure under 1,500 PSI for softwoods, and maintain a distance of at least 12 inches from the surface.
Step Three: Make Necessary Repairs
With your fence clean and dry, it’s time to address the damage you identified during inspection. Tackling repairs before staining ensures a uniform finish and prevents further deterioration.
Common spring fence repairs include:
- Replacing cracked, split, or rotted pickets and boards
- Re-securing loose boards with galvanized or stainless steel screws
- Straightening or replacing posts affected by frost heave
- Reinforcing wobbly posts with concrete or post supports
- Replacing rusted or broken hardware, hinges, and latches
- Adjusting or rehinging sagging gates
- Filling small cracks and holes with exterior wood filler
Frost-heaved posts require special attention. For minor heaving, you may be able to reset the post by digging around it, repositioning it to the correct height, and recompacting the soil. For severe cases, the post may need to be removed and reset with fresh concrete extending below the frost line, typically 4 feet deep in most of Ontario.
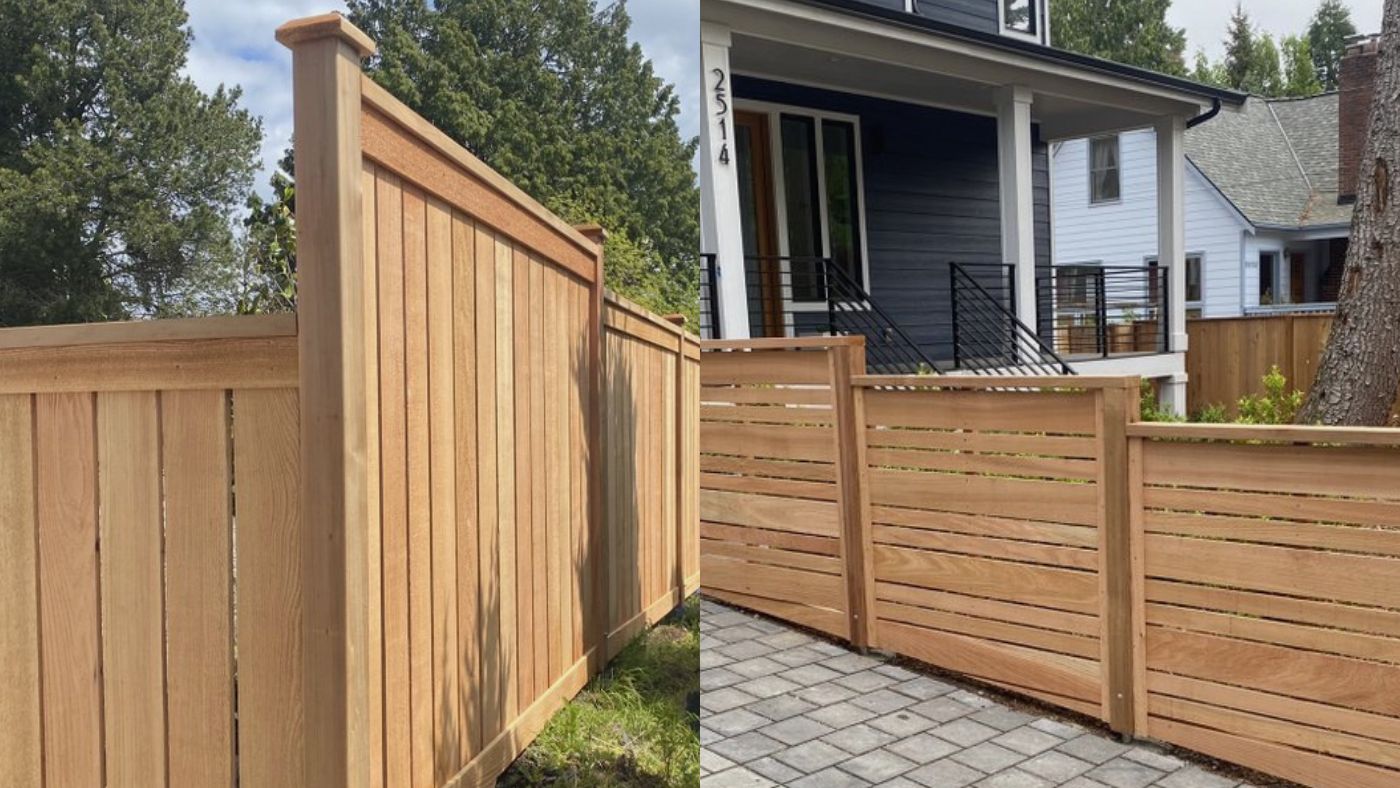
When replacing boards or pickets, try to match the wood species and dimensions of your existing fence for a consistent appearance. If your fence is older and the wood has weathered to a grey colour, new boards will stand out initially but will blend in over time, especially after staining.
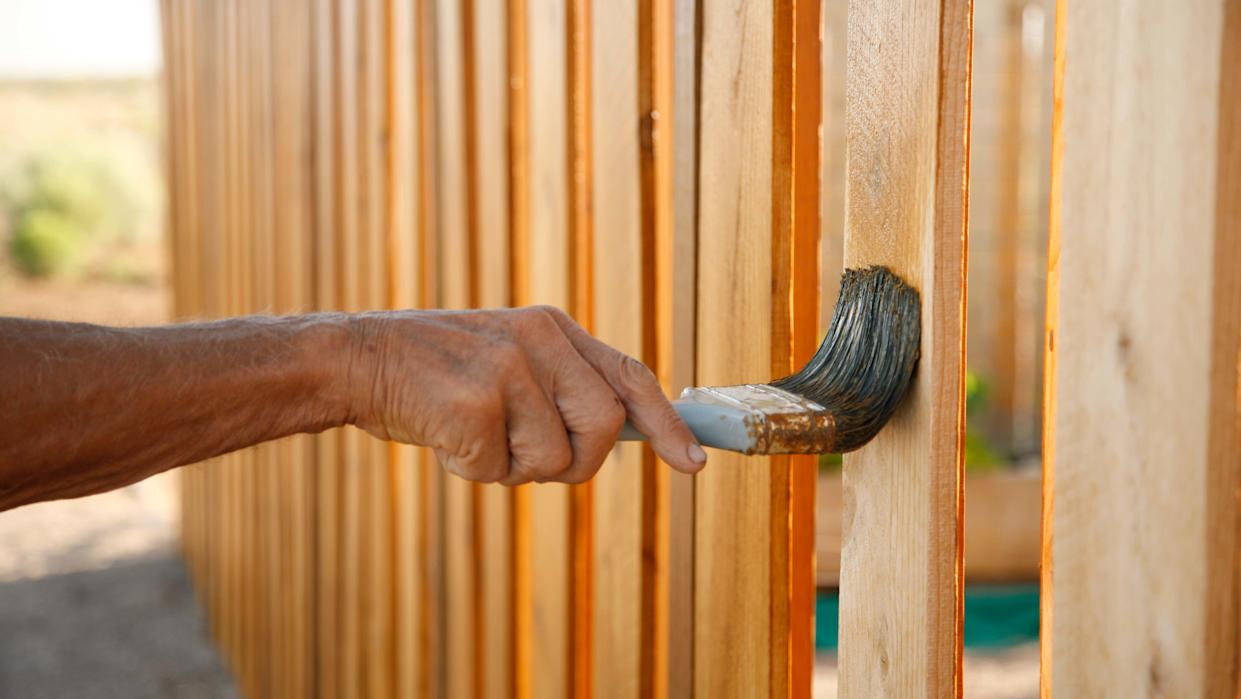
Step Four: Re-Stain and Seal Your Fence
After cleaning and repairs, applying a fresh coat of stain or sealant is the final step in spring fence recovery. This protective layer shields wood from UV rays, moisture, and temperature extremes—extending your fence’s lifespan significantly.
Before staining, ensure conditions are right:
- The fence must be completely dry (wait 24-48 hours after cleaning or rain)
- Air temperature should be between 10°C and 30°C
- Avoid staining in direct sunlight or when rain is expected within 24 hours
- Choose a day with low humidity for best penetration and drying
Spring offers ideal staining conditions in Ontario. The moderate temperatures and lower humidity compared to summer allow stain to penetrate properly and cure evenly.
Staining in spring also means your fence will be protected before the intense summer sun and seasonal storms arrive.
For best staining results:
- Choose a high-quality exterior wood stain appropriate for your fence type
- Apply stain with a brush, roller, or sprayer, working with the wood grain
- Pay extra attention to end grain and cut edges, which absorb more moisture
- Apply thin, even coats rather than one thick coat
- Allow proper drying time between coats if a second coat is needed
- Don’t forget to stain both sides of the fence if accessible
Semi-transparent stains offer a good balance of protection while allowing the wood grain to show through. Solid stains provide more UV protection and colour coverage but may require more maintenance over time. Clear sealers protect against moisture but offer minimal UV protection, so the wood will grey naturally.
Why Choose Professional Spring Maintenance
While handy homeowners can tackle basic fence maintenance, there are compelling reasons to trust professionals with your spring fence recovery.
Professional maintenance offers several advantages:
- Expert assessment identifies hidden damage you might miss
- Proper diagnosis of structural issues like frost heave
- Access to commercial-grade cleaning products and equipment
- Skilled repairs that match your existing fence seamlessly
- Professional-quality stain application for even coverage and longevity
- Time savings so you can enjoy your spring rather than working on your fence
- Warranty-backed work for peace of mind
A D Holmes Fence and Deck has been serving homeowners across Newmarket, Aurora, Whitby, and the Greater Toronto Area for years. Our experienced team understands the unique challenges Ontario winters pose to fences and decks, and we have the expertise to restore your fence efficiently and effectively.
Book Your Spring Fence Assessment Today
Don’t let winter damage compromise your fence’s appearance, security, or longevity. Spring is the ideal time to address issues before they worsen and to prepare your fence for the seasons ahead.
AD Holmes Fence and Deck offers comprehensive spring maintenance services, including thorough inspections, professional cleaning, expert repairs, and quality staining and sealing. Whether you need minor touch-ups or significant restoration, our team delivers craftsmanship you can count on.
Contact AD Holmes Fence and Deck today to schedule your spring fence assessment. Let us help you protect your investment and enjoy a beautiful, sturdy fence all year long.
Related Posts
Recent Works


